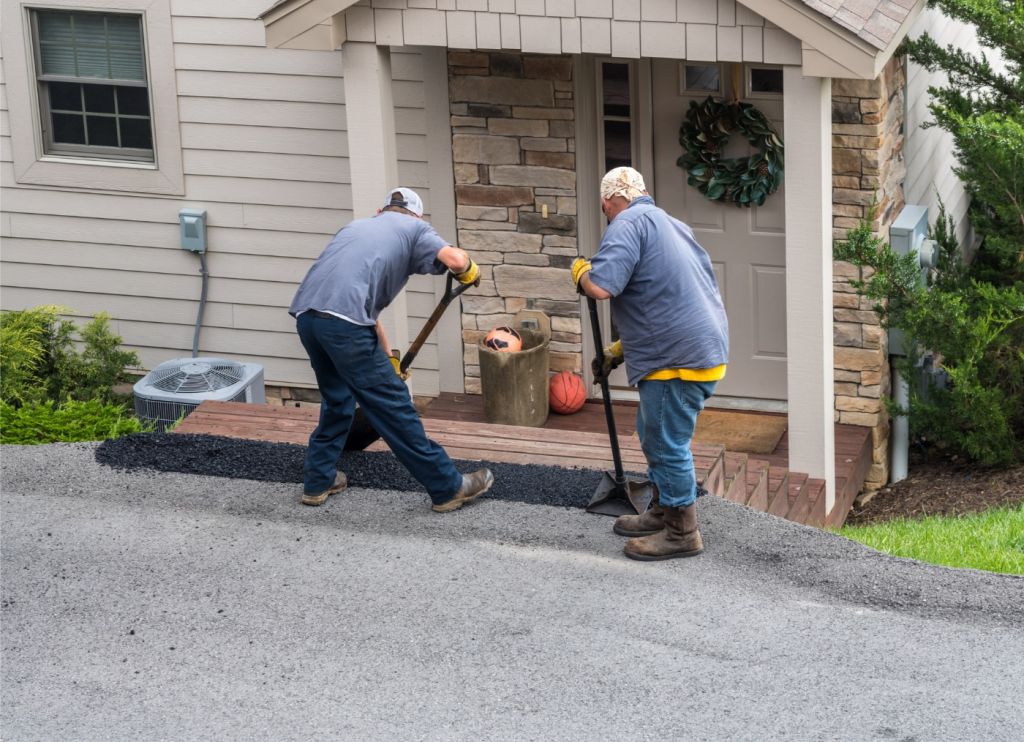
When you hire professionals to seal your asphalt or concrete driveway, they perform a crucial task that combines skill and hard work to protect your investment from the elements. This guide covers whether tipping driveway sealers is standard and how much is typical.
Tipping driveway sealers is not typically expected, but for exceptional service or large jobs, a tip of $10 to $20 per crew member can be offered to show appreciation for their work.

When considering tipping your driveway sealer, it's important to understand the norms around gratuity in this specific industry. The task of sealing a driveway is a service that benefits from a professional touch, ensuring longevity and quality appearance of your driveway.
How Much to Tip:
| Service Quality | Suggested Tip Percentage |
|---|---|
| Standard Service | 10-15% |
| Above-and-Beyond Service | 15-20% |
When to Tip:
For a comprehensive breakdown of tipping practices, you might find this Tipping Etiquette in the Trades: Complete Breakdown helpful. It provides insight into standard tipping amounts and advice for showing appreciation across various trades.
Remember to consider your budget and the overall cost of the service when deciding on a tip. Tipping is a personal choice and should align with your level of satisfaction with the work completed on your property.
Before you delve into the details, it's essential to understand that driveway sealing involves applying a protective coating to your driveway's surface. This process extends its lifespan and enhances curb appeal.
Your driveway can be made from various materials, each requiring a specific type of sealer. The common types you might encounter include:
Sealing your driveway offers several advantages:
When selecting a sealer, you need to match the material to your driveway type:
Before you embark on the project, it's crucial to thoroughly prepare your driveway for sealing to ensure the best possible outcome. Proper preparation extends the life of the sealant and provides your driveway with robust protection.
Firstly, remove all debris, leaves, and dirt from your driveway with a push broom. Pay special attention to the edges and corners where material tends to accumulate. For a deeper clean, use a pressure washer alongside a degreaser to tackle oil stains and ground-in dirt. This will prime your surface for the sealing process.
Next, inspect your driveway for any cracks or potholes. These imperfections should be addressed before applying sealant. Fill small cracks with a crack filler and use a patching compound for larger areas of damage. Both treatments should be allowed to dry thoroughly according to the product instructions.
Gather all necessary equipment and materials before you start the sealing process. This includes safety gear such as gloves and eye protection. You'll need a squeegee or a sealant applicator tool for an even spread, and a garden hose to keep the area hydrated if the sealant requires water during application.
Safety Gear:
Application Tools:
Taking the time to carefully prepare your driveway and having the right equipment and materials on hand are key steps toward a successful driveway sealing.
When you opt to have your driveway sealed, understanding the application and drying processes, as well as how weather can influence the results, is crucial for a successful outcome.
To start sealing a driveway, professionals often use a squeegee or a paint roller. This ensures the sealer is applied evenly across the surface. Follow these steps:
Applying thin coats rather than one thick layer is recommended because it allows for more uniform drying and better adhesion to the surface.
Once applied, the drying time for the sealer can vary:
To aid the drying process, add sand to the sealer before application to absorb excess moisture and create traction. Avoiding traffic during this phase is essential to prevent marks and ensure proper curing.
Weather plays a pivotal role:
To ensure optimal sealing results, aim for a dry weather forecast with moderate temperatures. It's best to avoid sealing in cold climates just before winter due to the risk of freezing.
Proper aftercare and maintenance are essential for extending the lifespan of your freshly sealed driveway. By following specific measures, you can protect the surface from cracking, staining, and other damage.
Keep your driveway clean to maintain the new sealant's effectiveness and appearance. For best results:
Resealing frequency depends on several factors:
Early identification of issues can save you from costly repairs:
Deciding to hire a professional to seal your driveway entails understanding the costs involved and what might influence them. Consider the value of expertise against the time and labor you'd invest in a DIY project.
Choosing a professional service for driveway sealing means you’re paying for their expertise and equipment. With professionals, you get coverage assurance and the use of high-quality materials, whether it's for an asphalt driveway or a concrete driveway.
The cost of sealing a driveway professionally varies depending on several factors:
| Driveway Size (sq ft) | Average Cost ($) |
|---|---|
| Less than 500 | 250 - 350 |
| 500 - 1,000 | 350 - 500 |
| More than 1,000 | 500+ (varies widely) |
Consider a DIY project when you have the time commitment and skill level to execute the task properly. A DIY project might offer cost savings, but it's important to weigh that against the potential for less coverage and possibly lower-quality results.